Stripe
Configure a credit card gateway that integrates with your Stripe account.

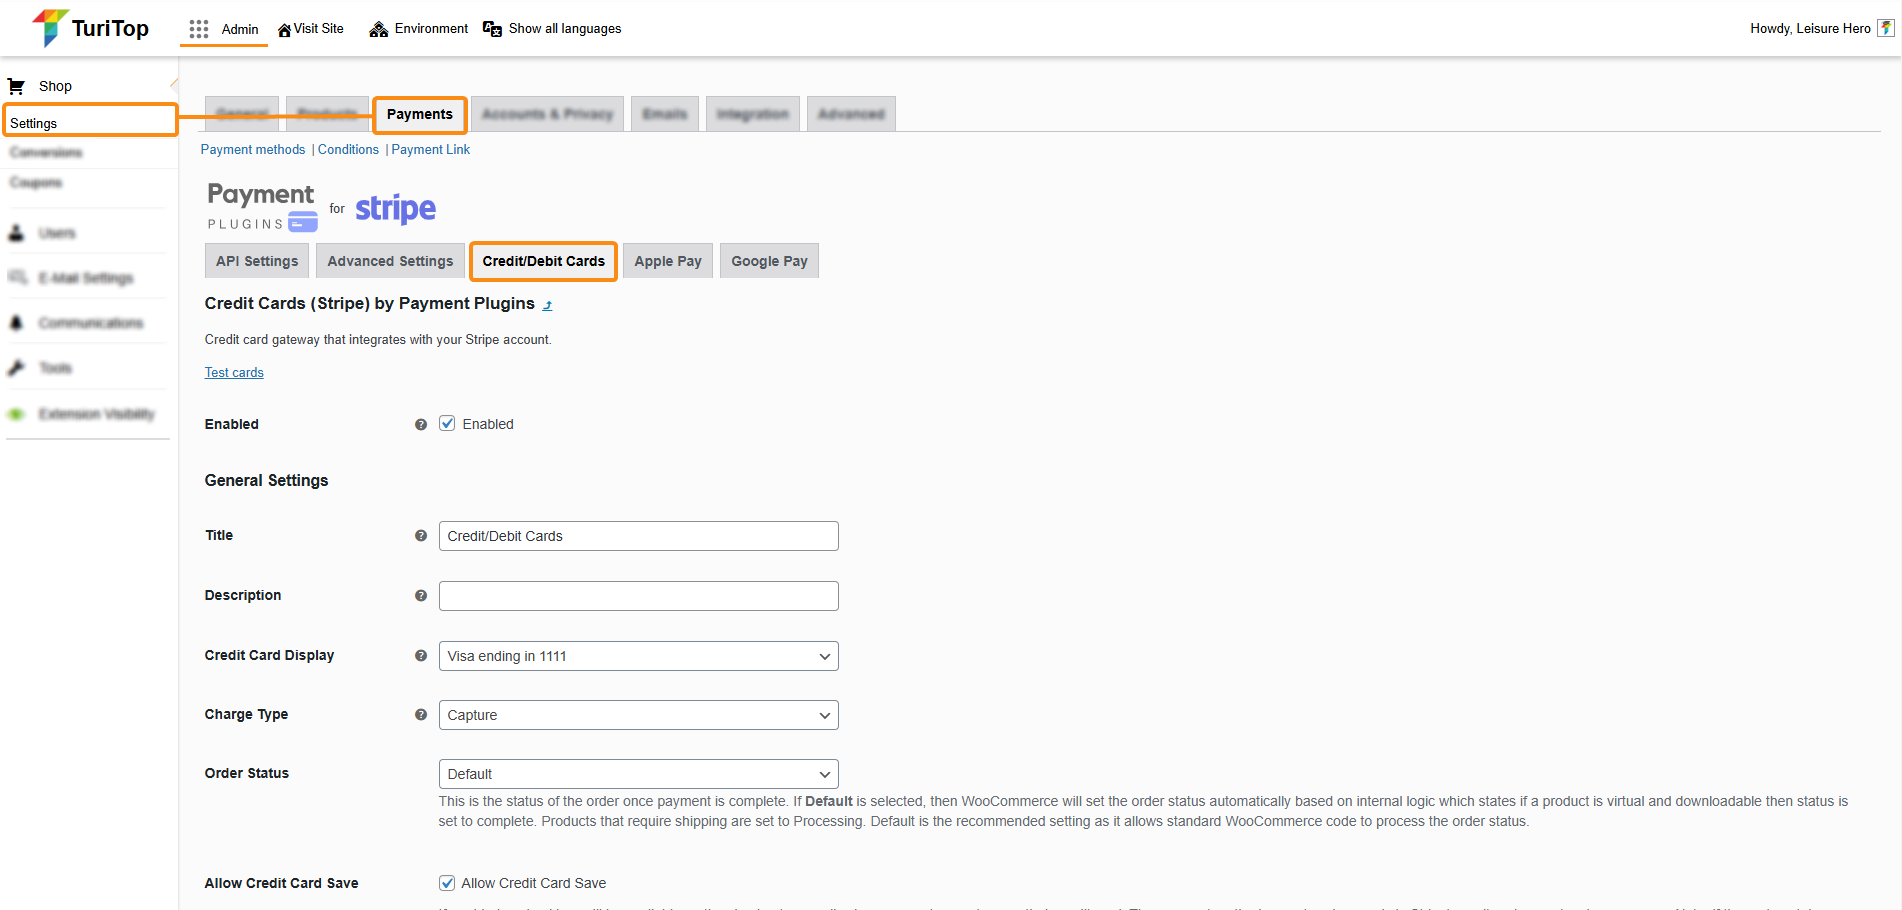
Admin >>> Shop >>> Settings >>> Payments >>> Credit Cards (Stripe) by Payment Plugins
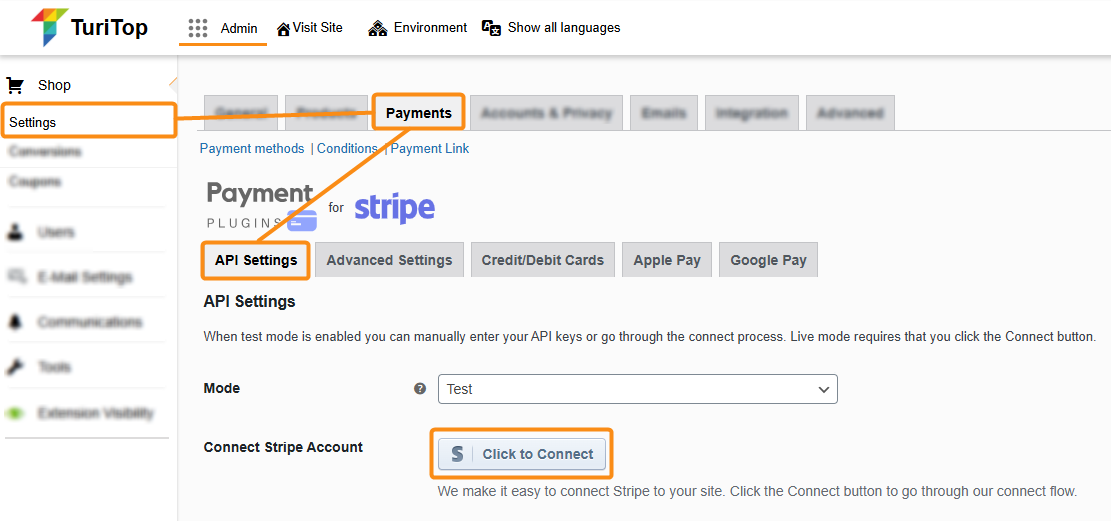
API Settings
The first thing you have to do when setting up the Stripe Payment Gateway is configure the connection to your Stripe account. If you don’t have an account yet, you can register via this link.
Click on the API Settings tab and proceed to connect by clicking on the Click to Connect button. A new screen will show where you can enter your credentials.
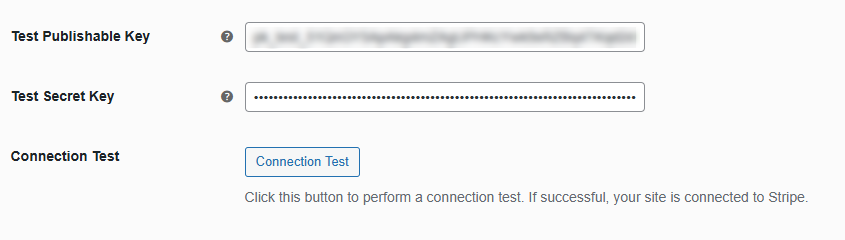
Once you complete all the steps provided by Stripe, you will see that the Test Publishable Key and Test Secret Key are automatically filled in. You can now press the Connection Test button to verify if everything is up and running.
At this time, you will notice that the Mode (the first setting on the screen) is set to Test.

The mode determines if you are processing test transactions or live transactions on your site. Test mode allows you to simulate payments so you can test your integration.
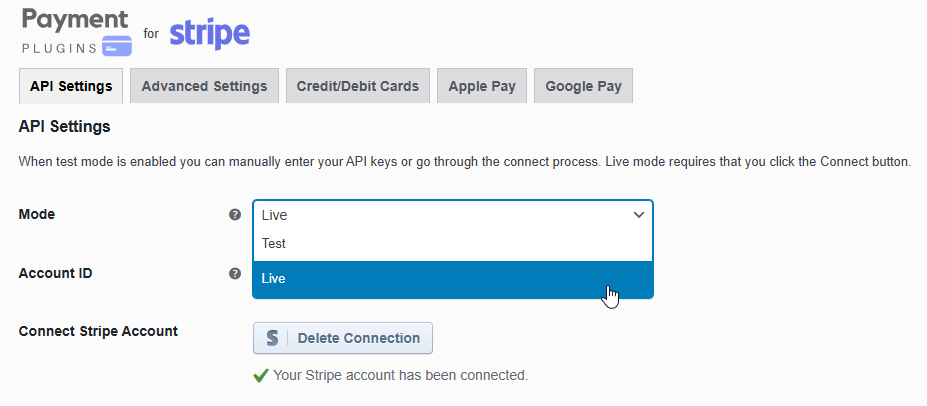
Once you perform the tests and confirm that everything works fine, you can change the Mode to Live and press the Save changes button.
Webhooks
By default, the necessary webhooks are already configured and prepared to be up and running with your connection to Stripe. If you need to create custom webhooks, please follow this guide.
General Settings
You have to check the “Enabled” box to activate the Stripe payment gateway. Then, you will be able to configure diverse settings:
- Title: Title of the credit card gateway.
- Description: Leave blank if you don’t want a description to show for the gateway.
- Credit Card Display: This option allows you to customize how the credit card will display for your customers on orders, subscriptions, etc.
- Charge Type: This option determines whether the customer’s funds are captured immediately or authorized and captured at a later time.
- Order Status: This is the status of the order once payment is complete. If Default is selected, then WooCommerce will set the order status automatically based on internal logic which states if a product is virtual and downloadable then the status is set to Complete. Products that require shipping are set to Processing. Default is the recommended setting as it follows the standard WooCommerce flow.
- Allow Credit Card Save: If enabled, a checkbox will be available on the checkout page allowing your customers to save their credit card. The payment methods are stored securely in Stripe’s vault and never touch your server. Note: if the cart contains a subscription, there will be no checkbox because the payment method will be saved automatically.
- Force 3D Secure: Stripe internally determines when 3D secure should be presented based on their SCA engine. If Force 3D Secure is enabled, 3D Secure will be forced for ALL credit card transactions. In test mode 3D secure only shows for 3DS Test Cards regardless of this setting.
- Generic errors: If enabled, credit card errors will be generic when presented to the customer. You may prefer to not provide details on why a card was not accepted for security purposes.
- Credit Card Icons: The selected icons will show customers which credit card brands are accepted (Amex, Discover, VISA, MasterCard, JCB, Maestro, Diners Club, Union Pay).
Credit Card Form
In this section, you can configure the look and feel of the Credit Card Form shown to your customers. You have several options:
- Card Form: Design displayed on payment pages.
- If Stripe inline form is selected, the default form will be shown.
- If Stripe payment form is selected, you can configure below the Theme with the options: Default, Night, or Flat.
- If Custom Form is selected, you can select from a variety of custom forms: Bootstrap, Simple, Minimalist, Inline, Rounded. Additionally, you will see a “Postal Code” check box which, if enabled, the CC form will show the postal code on the checkout page. If disabled, the billing field’s postal code will be used. The postal code will be shown on the Add Payment Method page for security reasons.
- Notices Location: This option allows you to control the location of credit card form validation errors: Above Form, Below Form, Top of checkout page, and Custom CSS selector. If you select Custom CSS Selector, then you can provide a custom CSS selector for where the notices appear.
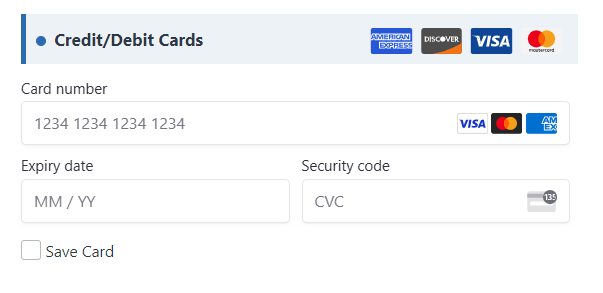
Examples of Card Form Themes
Stripe payment form – Default
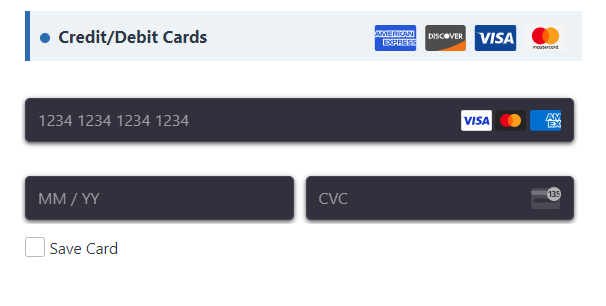
Stripe payment form – Night

Remember to click the “Save changes” button to register the modifications.