Google Pay
Google Pay gateway that integrates with your Stripe account.

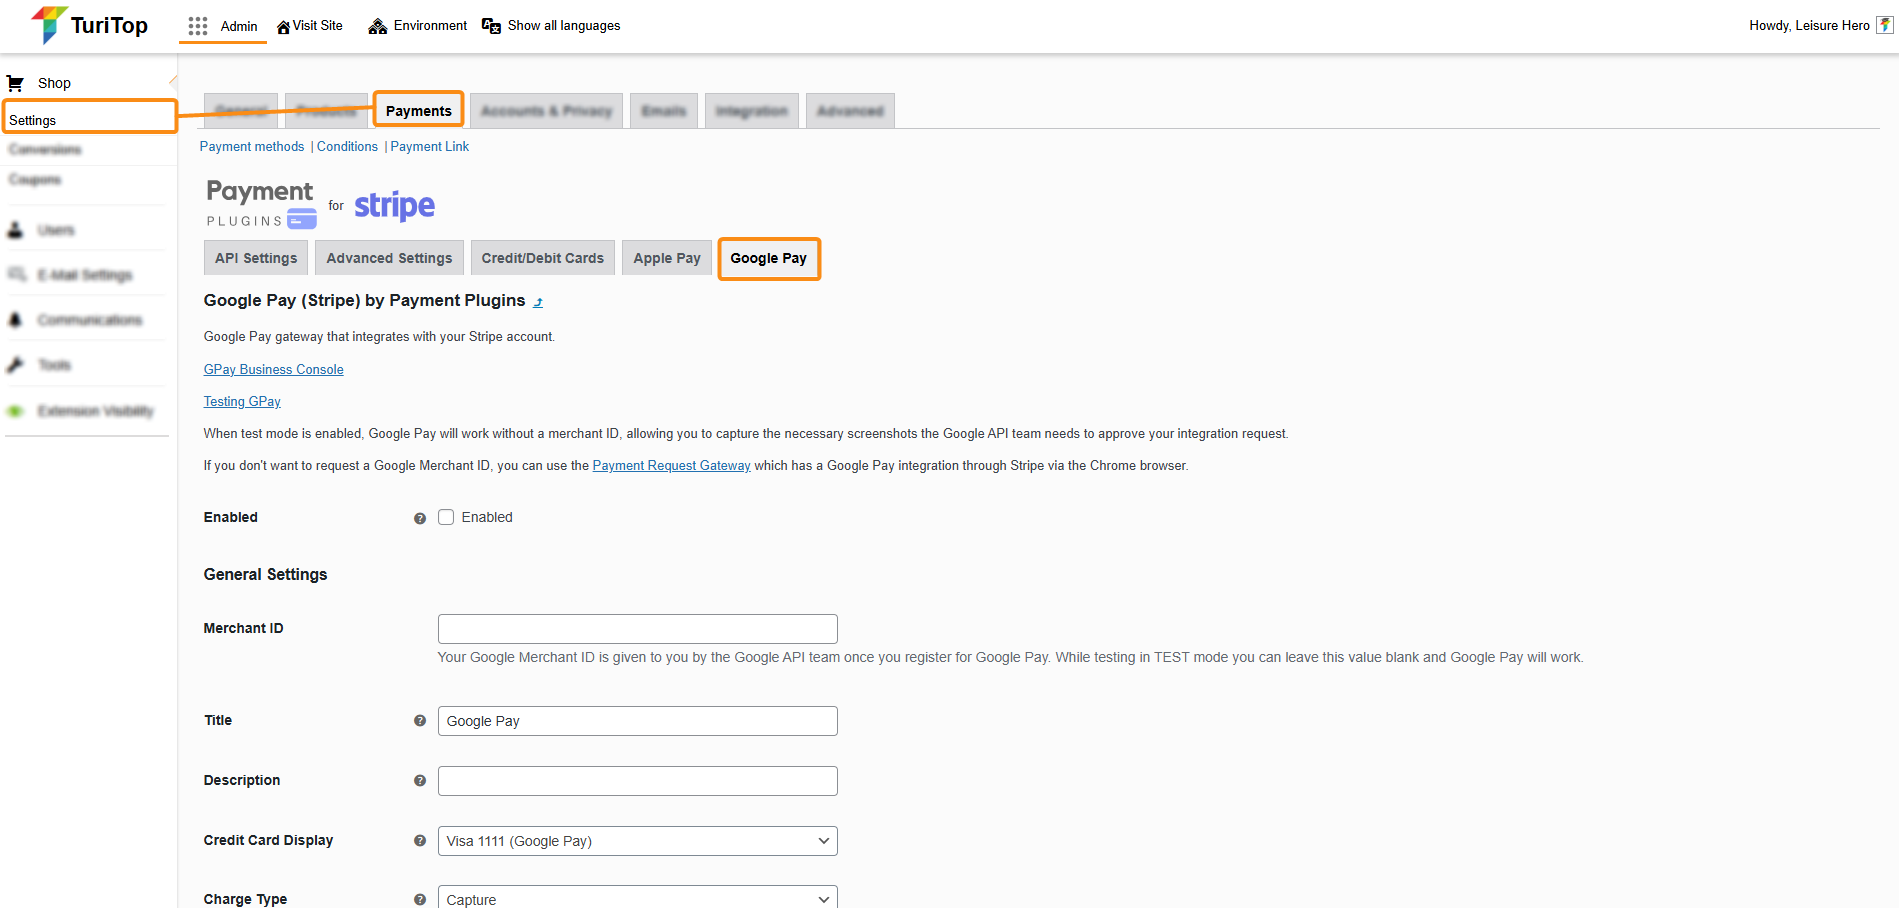
Admin >>> Shop >>> Settings >>> Payments >>> Google Pay (Stripe) by Payment Plugins

This payment gateway works through Stripe, so it is mandatory to enable the API Settings of this plugin. Check out this tutorial for more info.
Enabling Google Pay
The Google Pay integration is a great way to improve conversion rates. You can accept this payment option on product pages, the cart, or the checkout page.
To have the Google API team approve your integration you can enable test mode on the API Settings of the Stripe Plugin (see tutorial) and the plugin’s Google Pay gateway. When the test mode is enabled, Google Pay will work without a merchant ID, allowing you to capture the necessary screenshots the Google API team needs to approve your Merchant ID request.

If you need instructions on how to request a Google Pay account, you can follow this tutorial.
Be sure to check the “Enabled” box!
General Settings
You can configure diverse aspects of the Google Pay payment gateway:
- Merchant ID: Your merchant ID is an identifier provided to you by the Google API team once you submit an account request.
- Title: The text that appears on the checkout page for the gateway.
- Description: A description of the payment method. You can leave this option blank.
- Credit Card Display: Controls how Google Pay payment methods appear on your site.
- Charge Type: The charge type determines if funds are captured immediately or if an authorization is made against the card. Authorized orders can be captured at a later date.
- Payment Sections: These are all the sections on which Google Pay will be available. We recommend you add Apple Pay to your product pages and cart page to increase the conversion rate.
- Order Status: By default, the system sets the order’s status when payment is completed. For items that require shipping the system sets the status to Processing and for virtual products the status is Completed. This option allows you to control what the order status should be once payment is complete should you want to override the default system behavior.
- Merchant name: This is the name of your business as it appears on the Google Payment sheet.
- Icon: This controls which icon appears on the checkout page for Google Pay.
- Button Color: Available options are black or white.
- Button Style: Controls the text of the button.
In the last field of the settings (Button Design) you can see a live preview of your Google Pay button.

Remember to click the “Save changes” button to register the modifications.