PAYCOMET
Learn how to enable and receive payments through PAYCOMET.

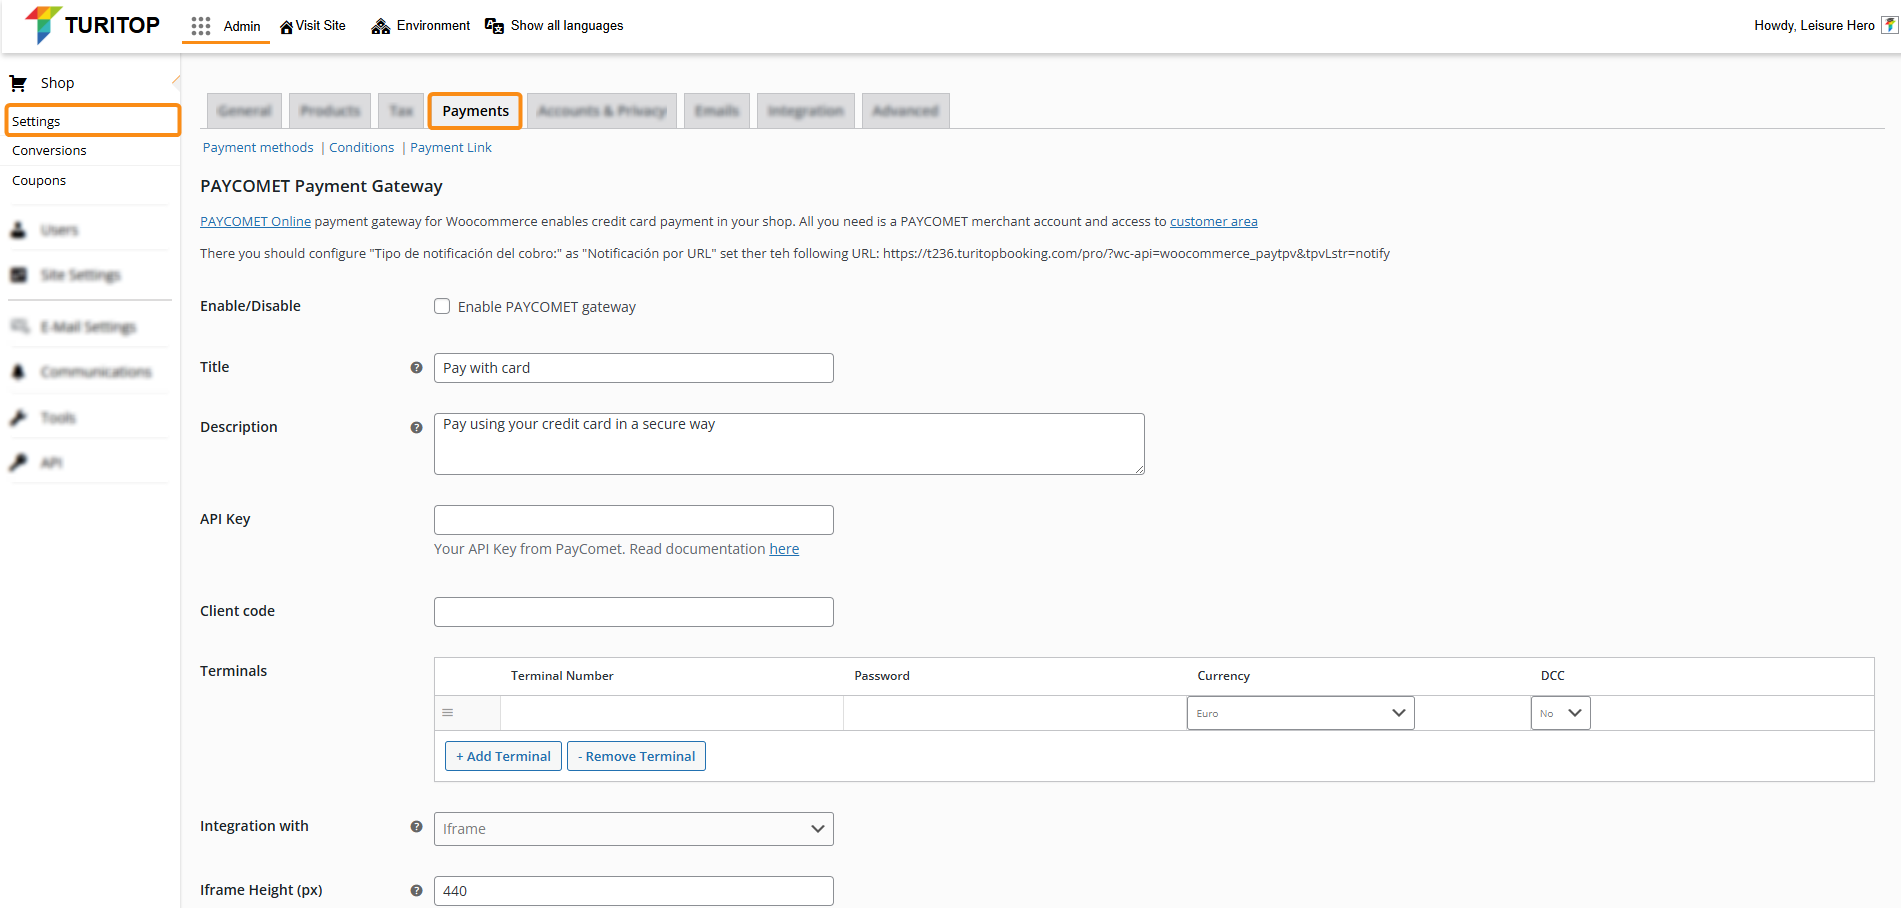
Admin >>> Shop >>> Settings >>> Payments >>> PAYCOMET
Enable PAYCOMET Gateway
Our PAYCOMET gateway enables credit card payments in your shop. All you need is a PAYCOMET merchant account and access to its customer area.
There you should configure “Tipo de notificación del cobro:” as “Notificación por URL“, and then set the following URL: https://<yourdomain>?wc-api=woocommerce_paytpv&tpvLstr=notify.

Replace <yourdomain> with your actual domain address.
Then, you will have to check the “Enable PAYCOMET gateway” box and configure the following fields:
- Title: This controls the title users will see during checkout.
- Description: This controls the description users will see during checkout.
- API Key: Your API Key from PAYCOMET. Read the documentation here.
- Client code: Your client code for your PAYCOMET account.
- Commerce Name: The name of your commerce/shop.
- Terminals: Here, you can add as many Terminals as you want, provided that you have already set them up in your PAYCOMET dashboard. You will have to insert the Terminal Number and Password, and set the Currency and the DCC option.
- Integration with: Pay in an Iframe, Paycomet page, or JetIframe.
- Iframe Height (px): If the Iframe option is selected in the above field, set its height (minimum 440px).
- Disable Offer to save card: Set this option to “Yes” if you don’t want to offer the user to save its card in the PAYCOMET platform.
Remember to click the “Save changes” button to register the modifications.