Create a New Menu
Create navigation menus for your website.

Website >>> Appearance >>> Menus
Creating a New Menu
The first screen of the Menus section will show the currently selected menu, if one has already been created. However, you can click on the create a new menu link, and a screen like the one below will appear:
Creating a new menu (1).
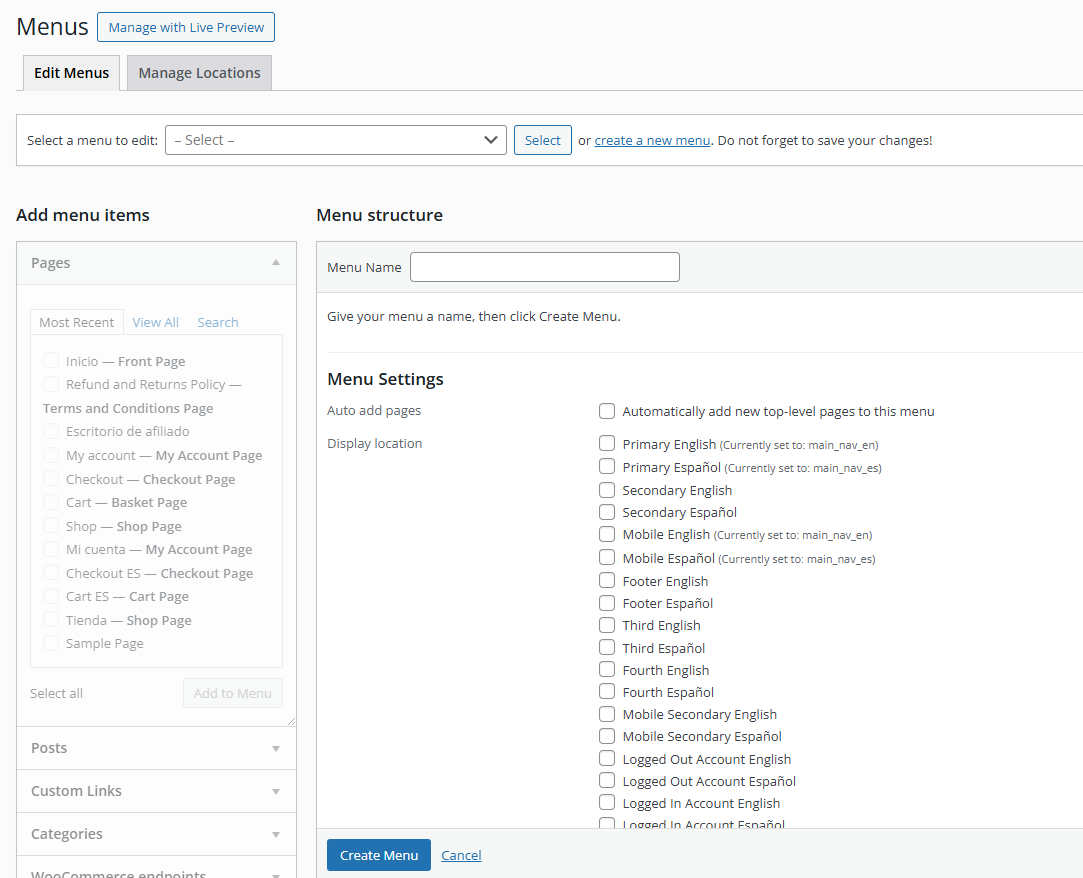
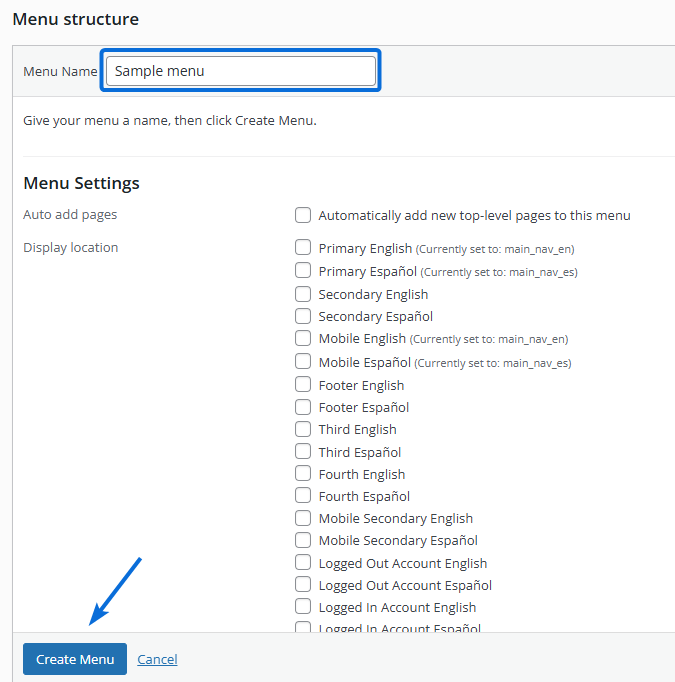
The first thing to do is to set a Menu Name and click on the Create Menu button:
Creating a new menu (2).
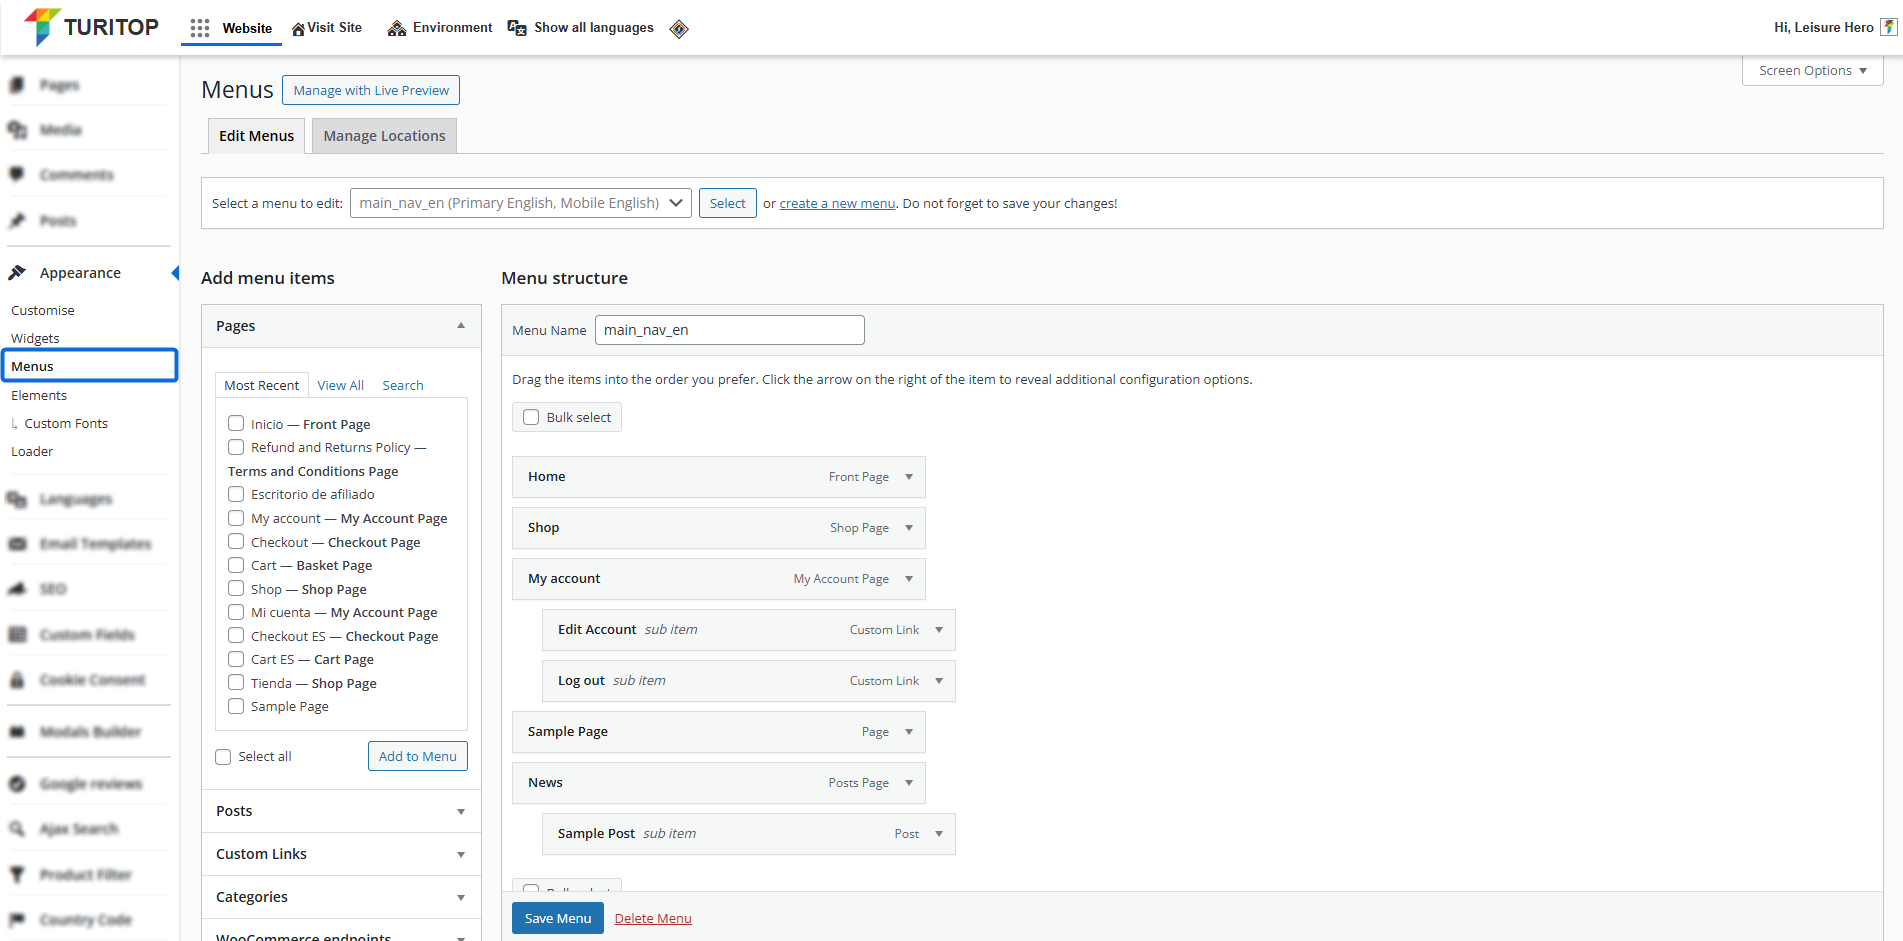
Once the menu is created and selected, you can begin adding items such as Pages, Posts, Custom Links, Categories, or WooCommerce Endpoints.
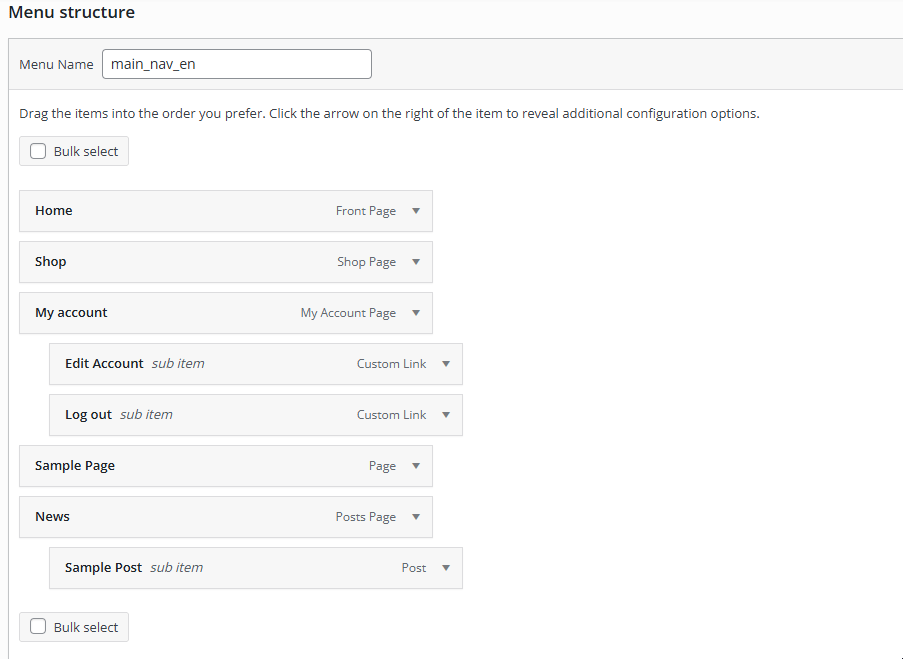
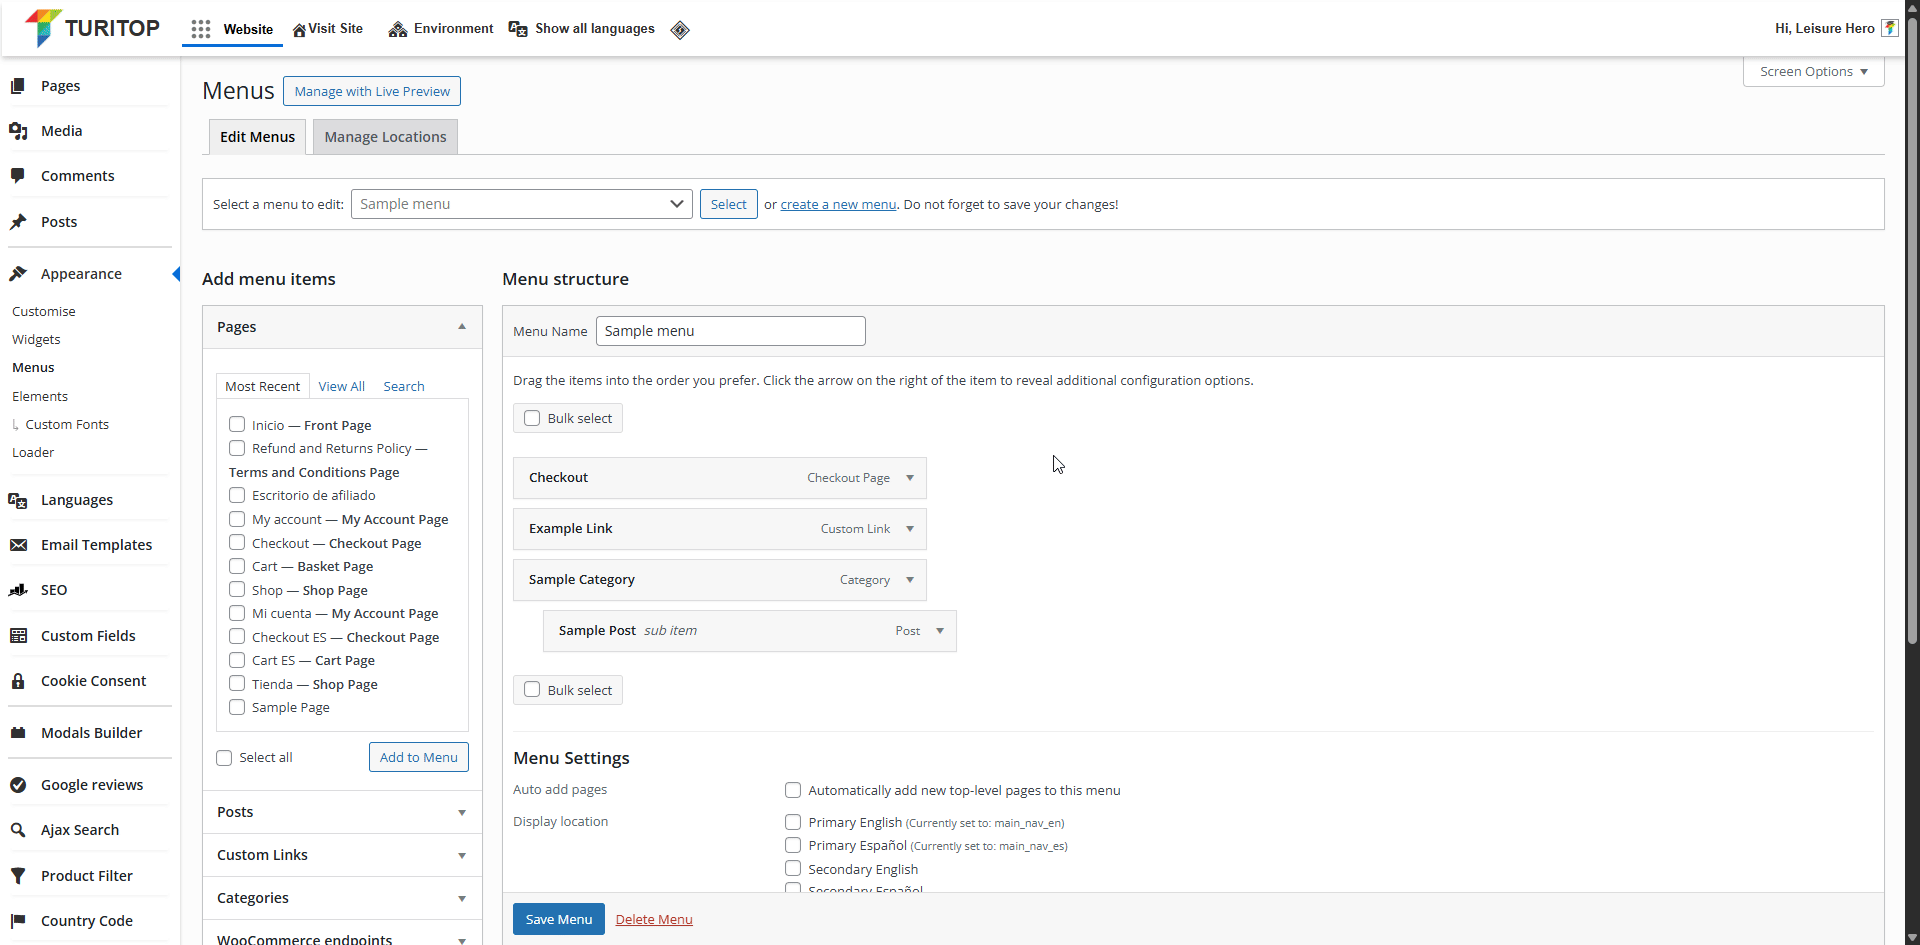
To add items, simply select them from the left sidebar and click “Add to Menu.” You can then drag and drop the items to reorder them or nest them under others, creating drop-down menus for a hierarchical structure:
Populating a menu.
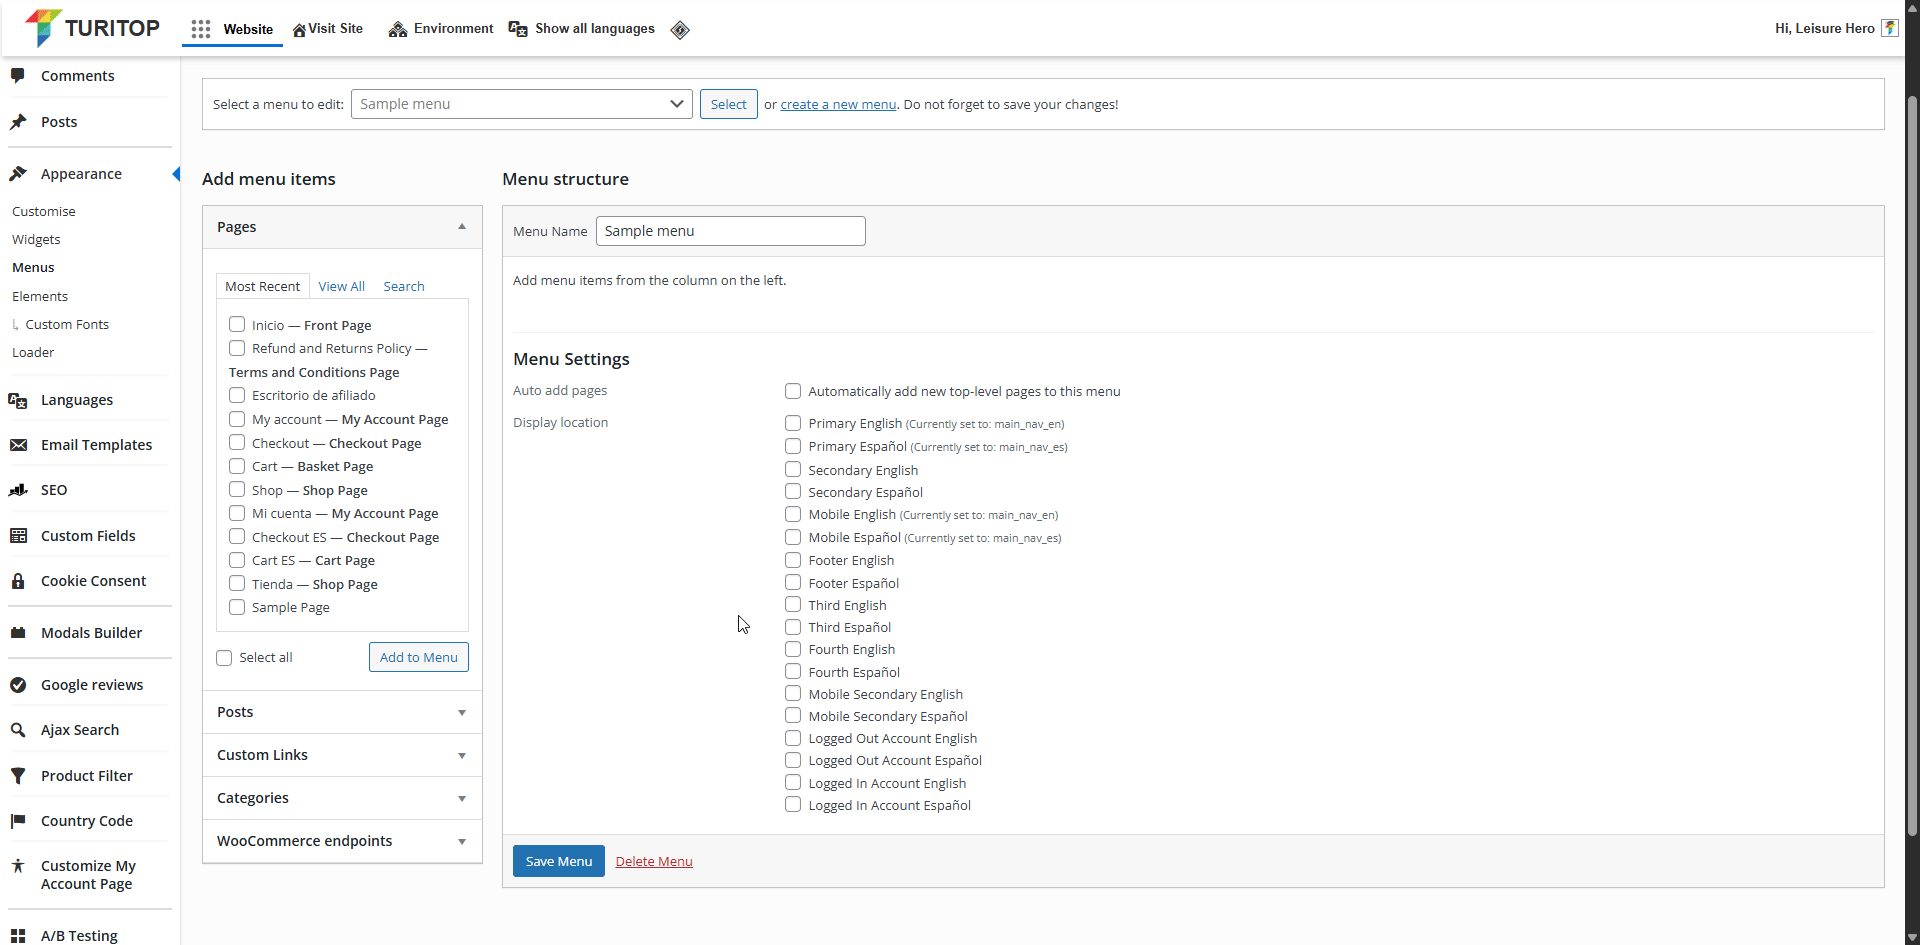

Remember to click the “Save Menu” button to register any modifications.
Setting the Menu Location
After you successfully create your Menu, it’s time to set it up to appear in one of the multiple locations our system allows. For this example, we will set it to the Primary English location to show that it will appear on the main navigation of our site in its English version:
Setting the menu location.
For more information about Menu Locations, go to the next tutorial.
Editing Created Menus
To edit an existing menu, use the “Select a menu to edit:” dropdown, choose the menu you want to modify, and click the “Select” button.
Selecting a menu to edit.

Also, if you need to, you can remove items in bulk with the “Bulk select” checkbox:
Bulk removal of menu items.