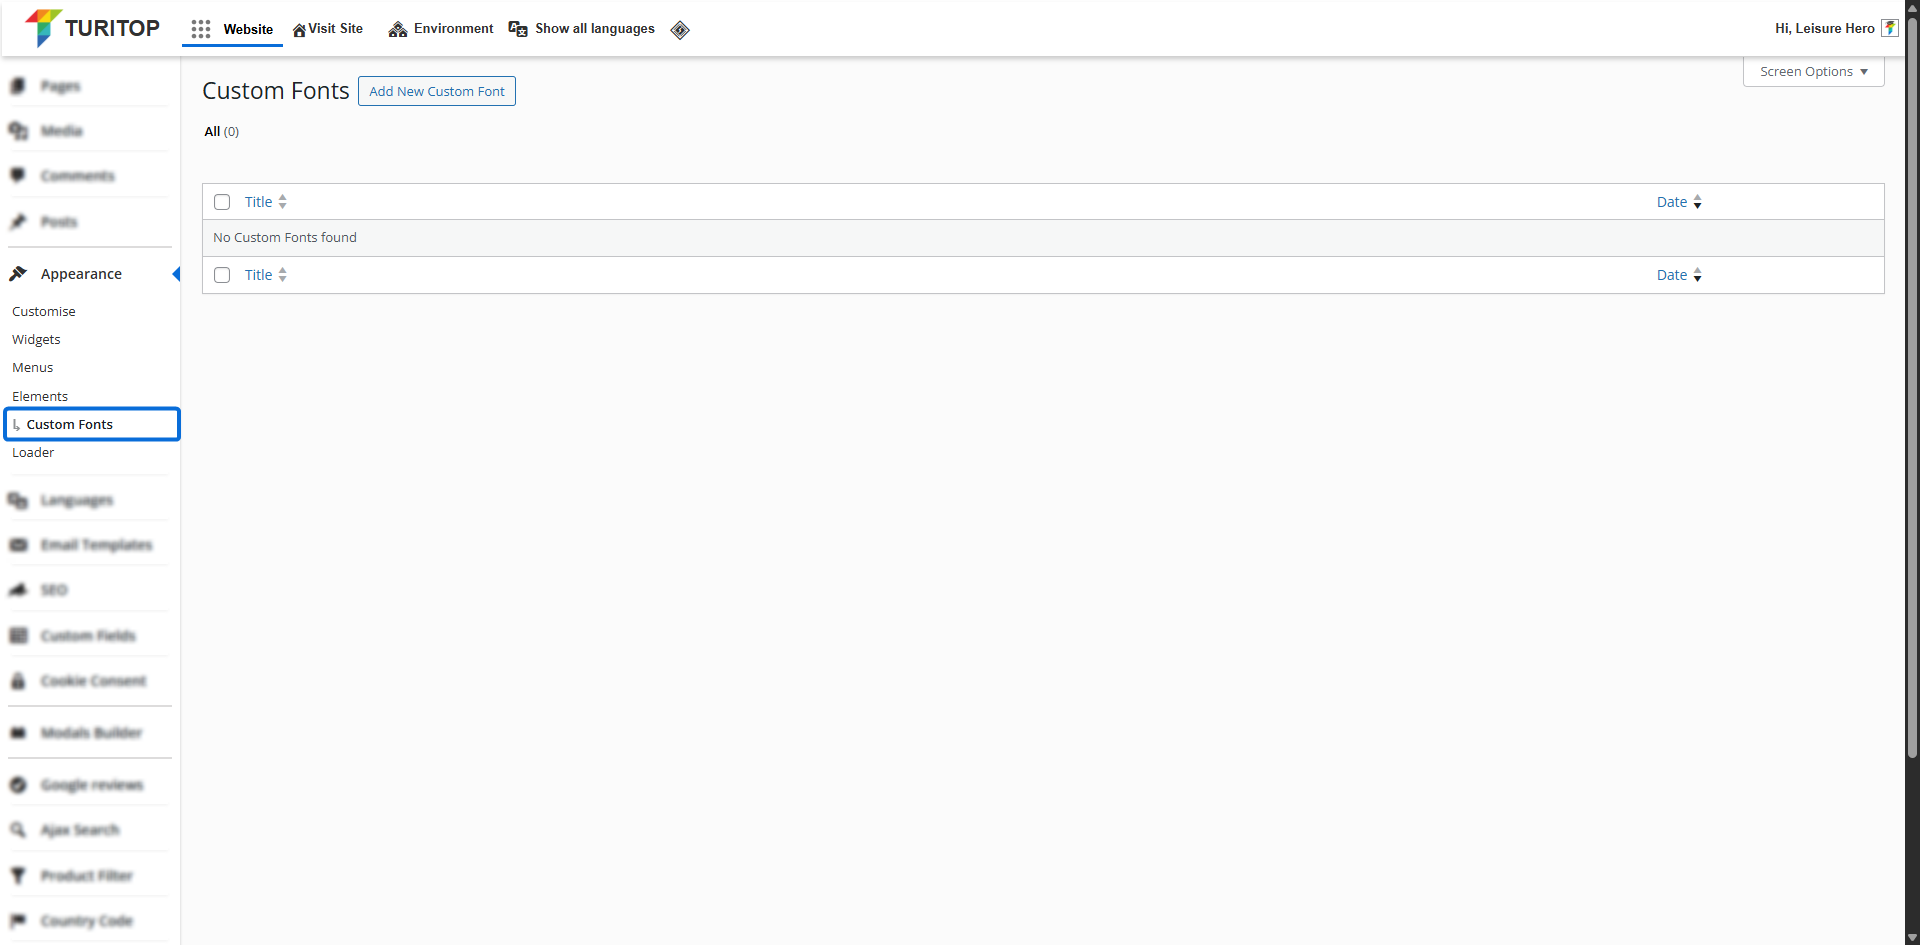
Custom Fonts
Add custom fonts to use across your site’s elements and blocks.

Website >>> Appearance >>> Custom Fonts
Adding Custom Fonts
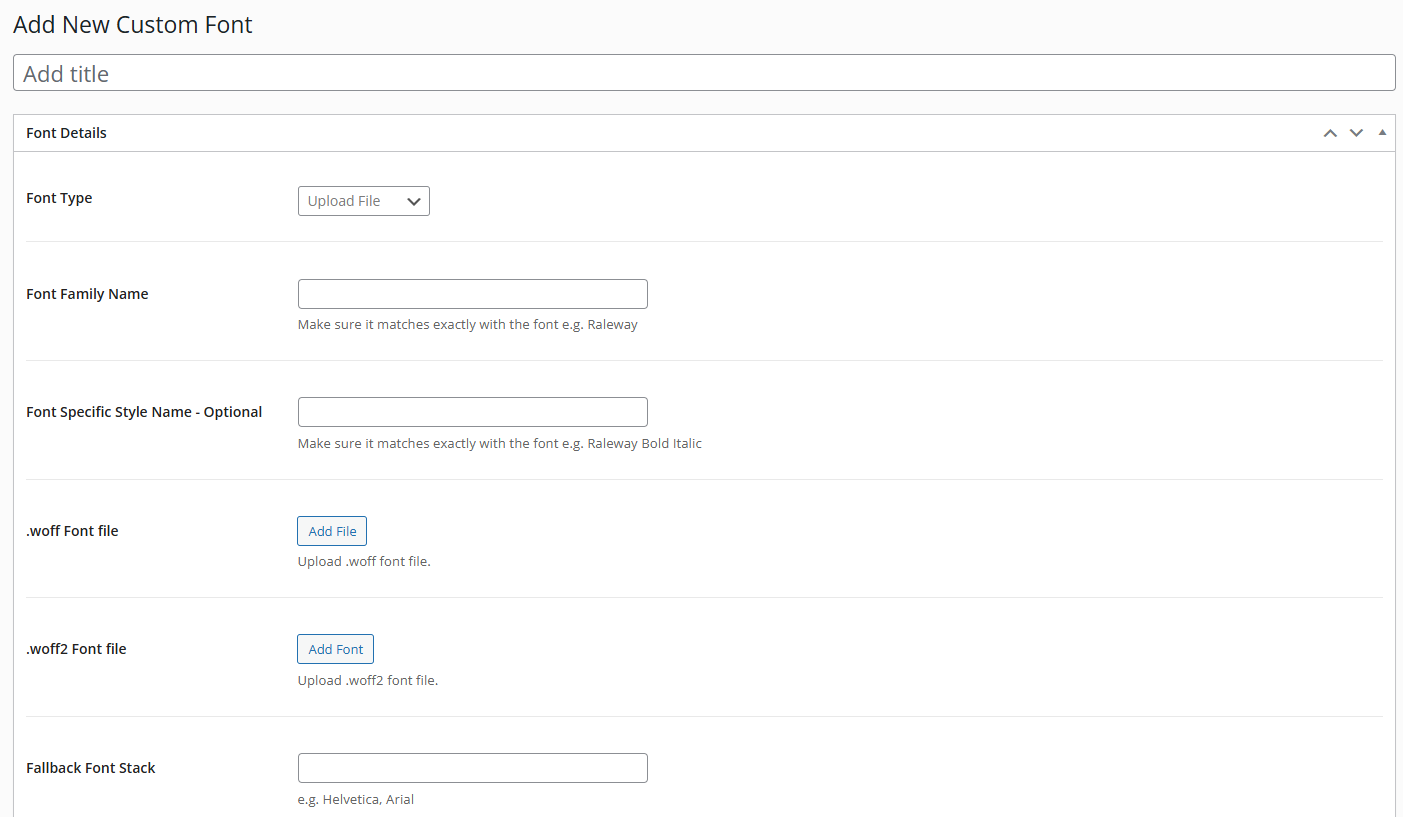
To upload a new custom font to your site, click the “Add New Custom Font” button at the top of this section. Make sure your font files are in a .woff and .woff2 format, and that they are Static fonts, as this feature does not support variable fonts.
Once you have your files ready, add a Title for the new custom font, select “Upload file” in the Font Type option, and fill in the following fields:
- Font Family Name: Must match the font exactly (e.g., “Raleway”).
- Font Specific Style Name (Optional): Matches the exact style (e.g., “Raleway Bold Italic”).
- .woff Font file: Upload the .woff font file.
- .woff2 Font file: Upload the .woff2 font file.
- Fallback Font Stack: Fonts shown if the custom one fails to load (e.g., “Arial” or “Helvetica”).
- Font Weight: Specify the font weight(from 100 to 900).
- Font Style: The style of the font (Normal or Italic).
- Load Display Swap: If enabled (recommended), it uses a system font temporarily until the custom font is loaded.
The “Add New Custom Font” fields.

The last three options (uploading .eot, .ttf, and .svg font formats) are deprecated and intended only for outdated browser support. You should use only .woff and .woff2 formats for modern, optimized performance.

Remember to click the “Publish” button to create the custom font.
Adobe TypeKit Fonts
You can also import fonts from your Adobe Typekit (Adobe Fonts) projects. To do this, select “Adobe Typekit” from the first dropdown menu. You’ll then be prompted to enter your Adobe Typekit Project ID. Once you enter it and click on the “Publish” button, your custom fonts and variations will be imported.
You can learn about adding fonts to your website using Adobe TypeKit here.