myPOS Checkout
Activate myPOS Checkout as a payment method.

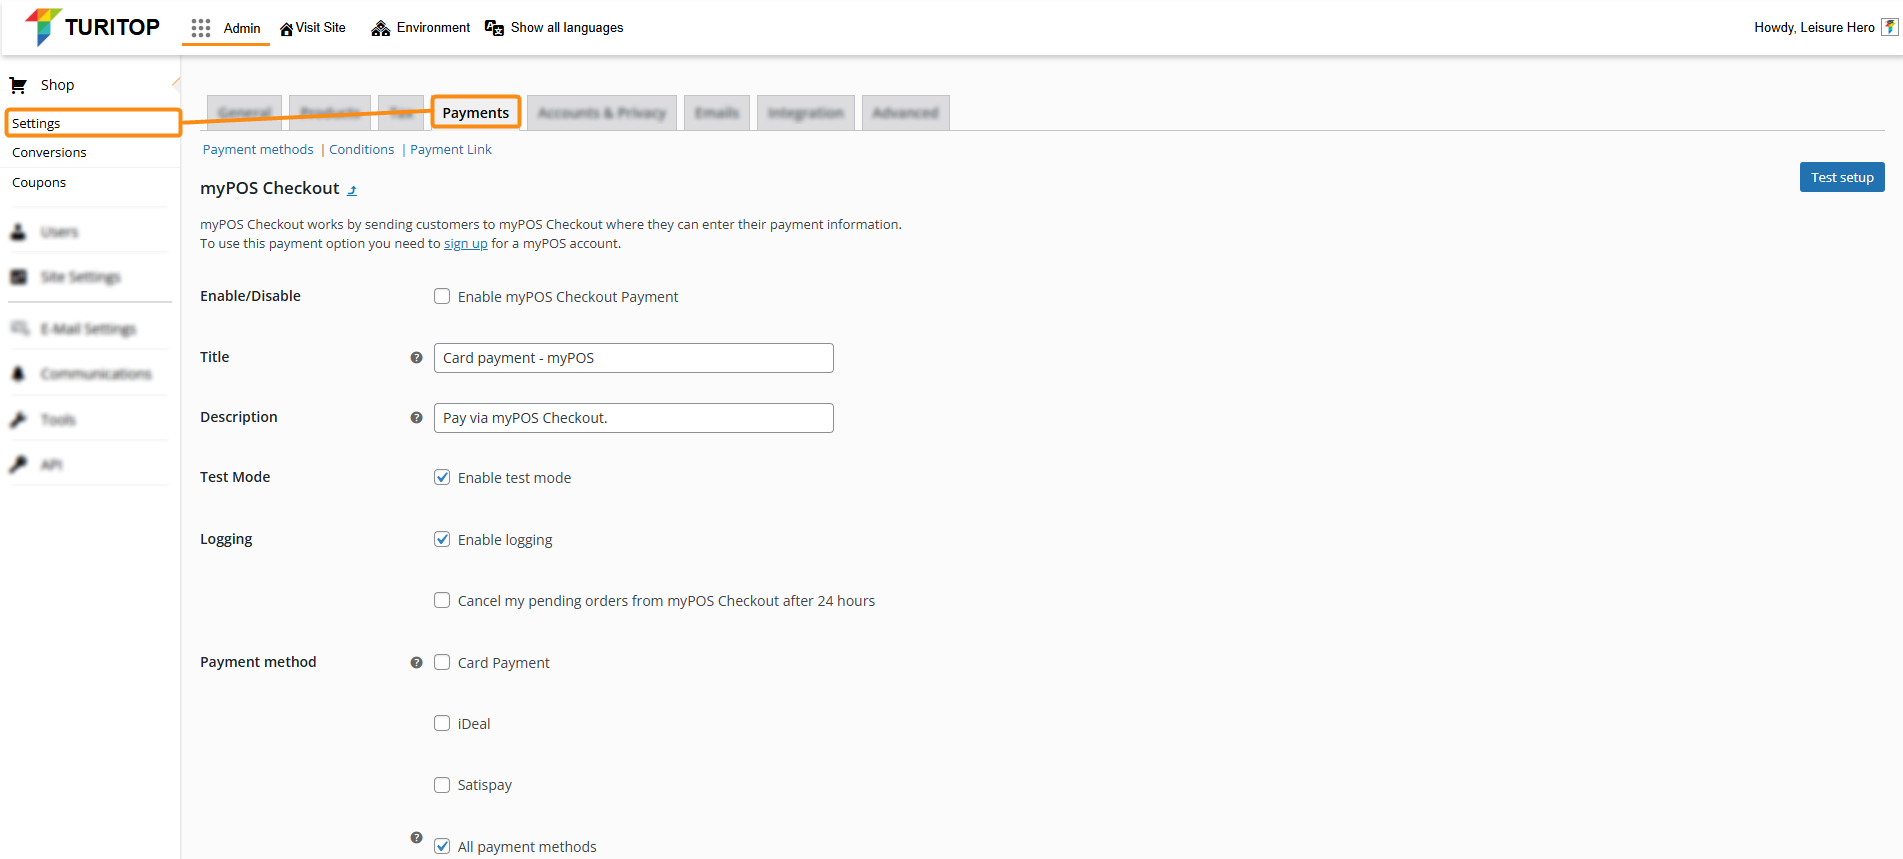
Admin >>> Shop >>> Settings >>> Payments >>> myPOS Checkout
Enable myPOS Checkout Gateway
myPOS Checkout integrates its payment gateway right into your Shop checkout. You will need to sign up for a myPOS account to use this payment option.
Once your account is created, you will find in your myPOS panel all the required data to enable this payment method.
myPOS Checkout Settings
In the first screen of myPOS Checkout page, you can configure the following settings:
- Enable/Disable: To enable or disable this payment method.
- Title: This controls the title that the user sees during checkout.
- Description: This controls the description users will see during checkout.
- Test Mode: Enables or disables the Test Mode.
- Logging: Enables logging for debugging or troubleshooting purposes.
- Cancel my pending orders from myPOS Checkout after 24 hours: Check this box if you want to cancel any pending orders after 24 hours.
- Payment method: By default, the “All payment methods” box will be selected, but you can check and uncheck the currently supported methods (Card Payment, iDeal, Satispay).
The settings fields for myPOS Checkout
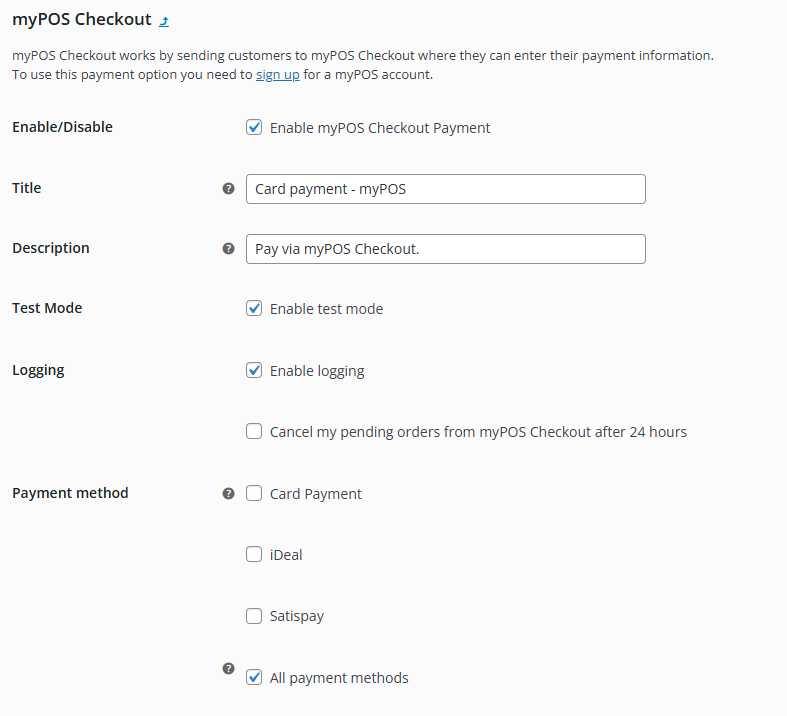
Test Mode
First, you need to enable myPOS Checkout as a payment method. To do so, tick the “Enable myPOS Checkout payment” and “Enable test mode” checkboxes as shown on the image above.
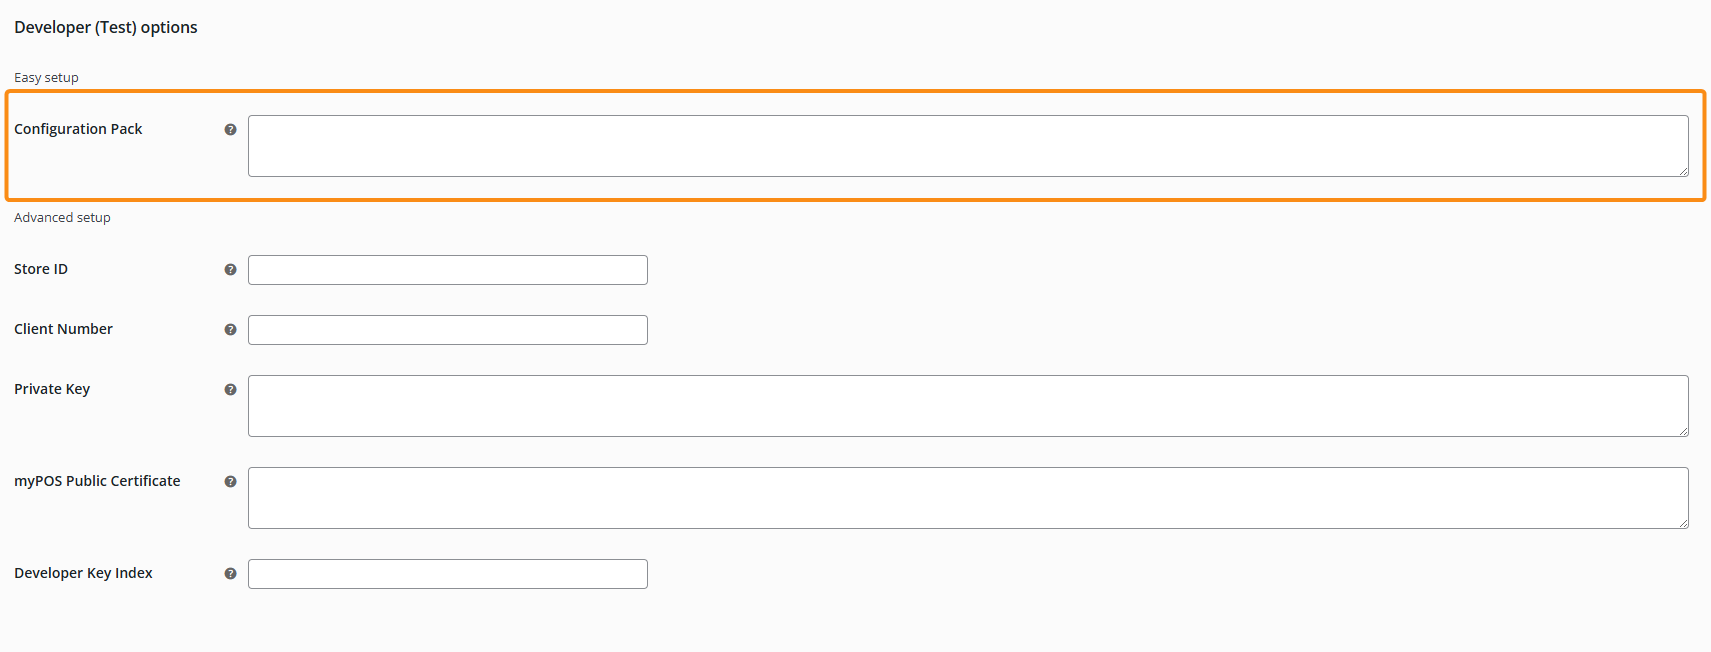
Then, scroll down to the Developer (Test) options section and paste the following code into the “Configuration pack” field:
The Configuration Pack for testing field
Finally, click on the “Test setup” button (on the upper right section of the screen).
You have already enabled the myPOS Checkout gateway in test mode! You can proceed to make an order to check that everything is working correctly.
Production mode
Once you have reviewed your test configuration, you can proceed to insert the data to work in the production environment. We recommend generating a Configuration Pack from your myPOS dashboard. You can find more information on how to do it here.
When you have your Configuration Pack code, uncheck the “Enable test mode” box and copy it to the Configuration Pack field on the Production options section:
The production mode’s Configuration Pack field
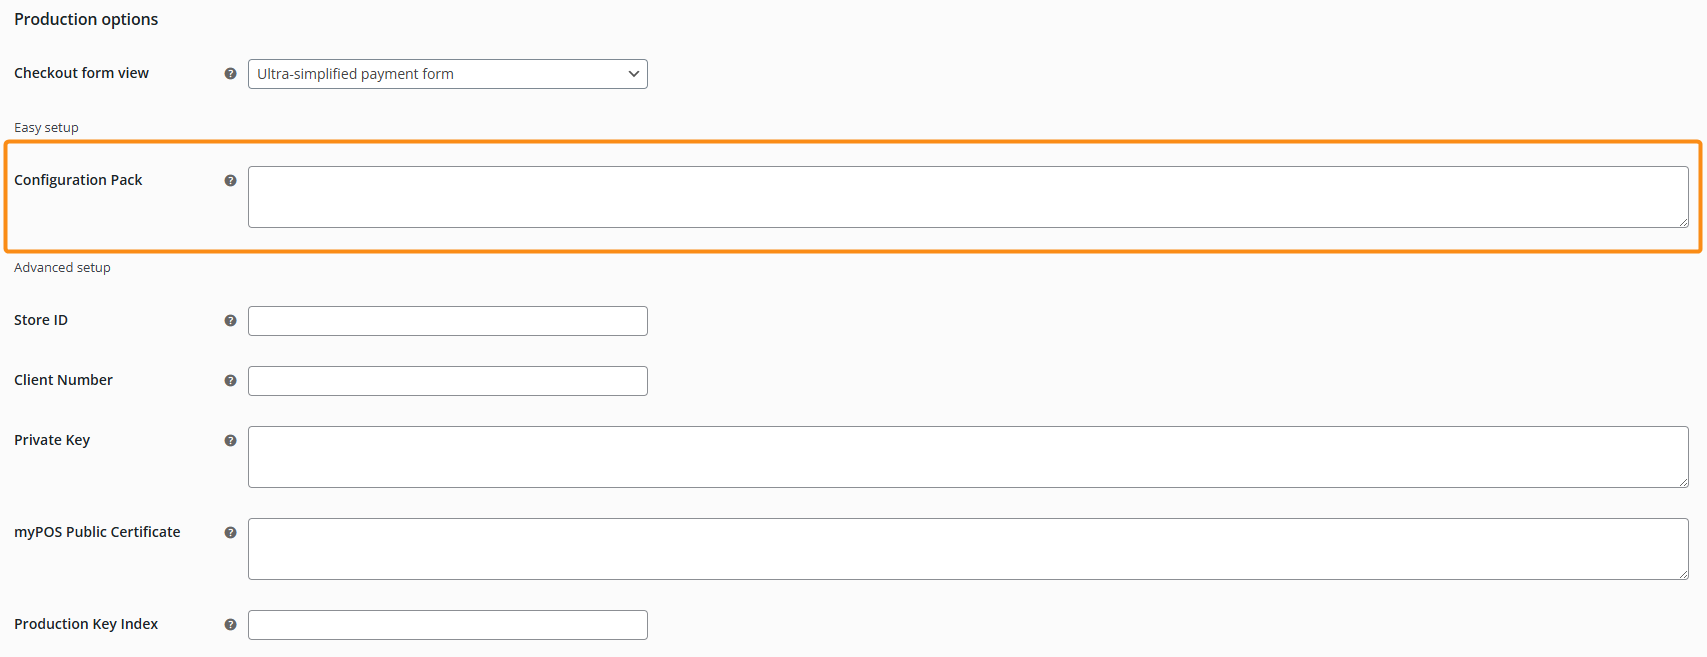
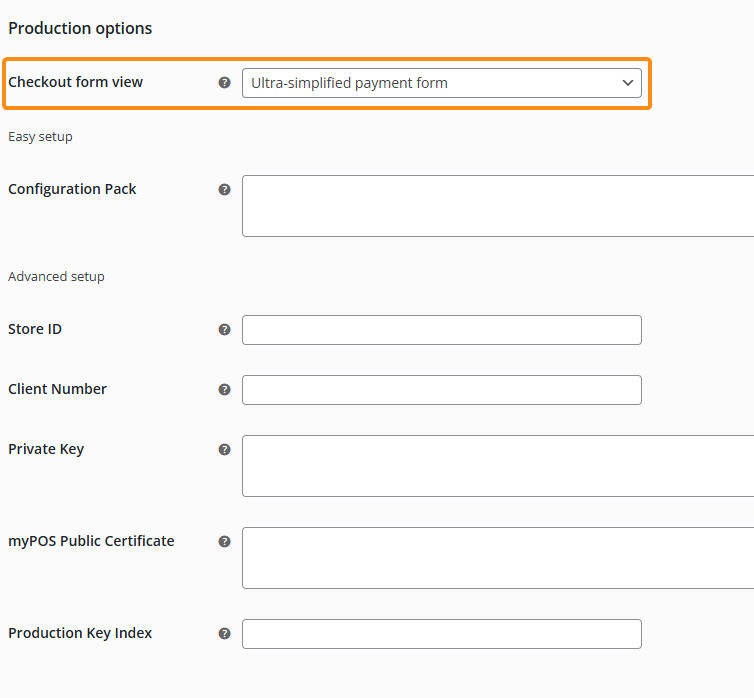
Checkout form view
In the “Production options” section, you can select different views for your checkout form via its own dropdown:
- Full payment form: When you choose the “Full payment form”, you can collect detailed customer information on checkout – customer names, address, phone number, and email. Keep in mind that:
- If your website has a shipping form, customers will have to type some of the details twice.
- All fields are mandatory.
- Names and email addresses are not editable on the payment page.
- Simplified payment form: It’s similar to the “Full payment form”. However, customer names and email addresses are editable on the payment page.
- Ultra-simplified payment form (recommended): The most basic payment form – it requires only card details. Use this only if you collect customer details on a prior page. It is enabled by default and recommended.
The Checkout form view dropdown
Advanced setup
If you don’t want to use the Configuration Packs (both in Test and Production modes), you can manually fill in every field in the Advanced setup sections. You will have to set up the following fields:
- Store ID: Store ID is given when you add a new online store. It could be reviewed in your online banking at www.mypos.com > menu Online stores.
- Client Number: You can view your myPOS Client number in your online banking at www.mypos.com.
- Private Key: The Private Key for your store is generated in your online banking at www.mypos.com > menu Online stores > Keys.
- myPOS Public Certificate: The myPOS Public Certificate is available for download in your online banking at www.mypos.com > menu Online stores > Keys.
- Developer (test) / Production Key Index: The Key Index assigned to the certificate could be reviewed in your online banking at www.mypos.com > menu Online stores > Keys.