Bizum
Enable Bizum gateway by sending the user to your bank TPV.

Admin >>> Shop >>> Settings >>> Payments >>> Bizum
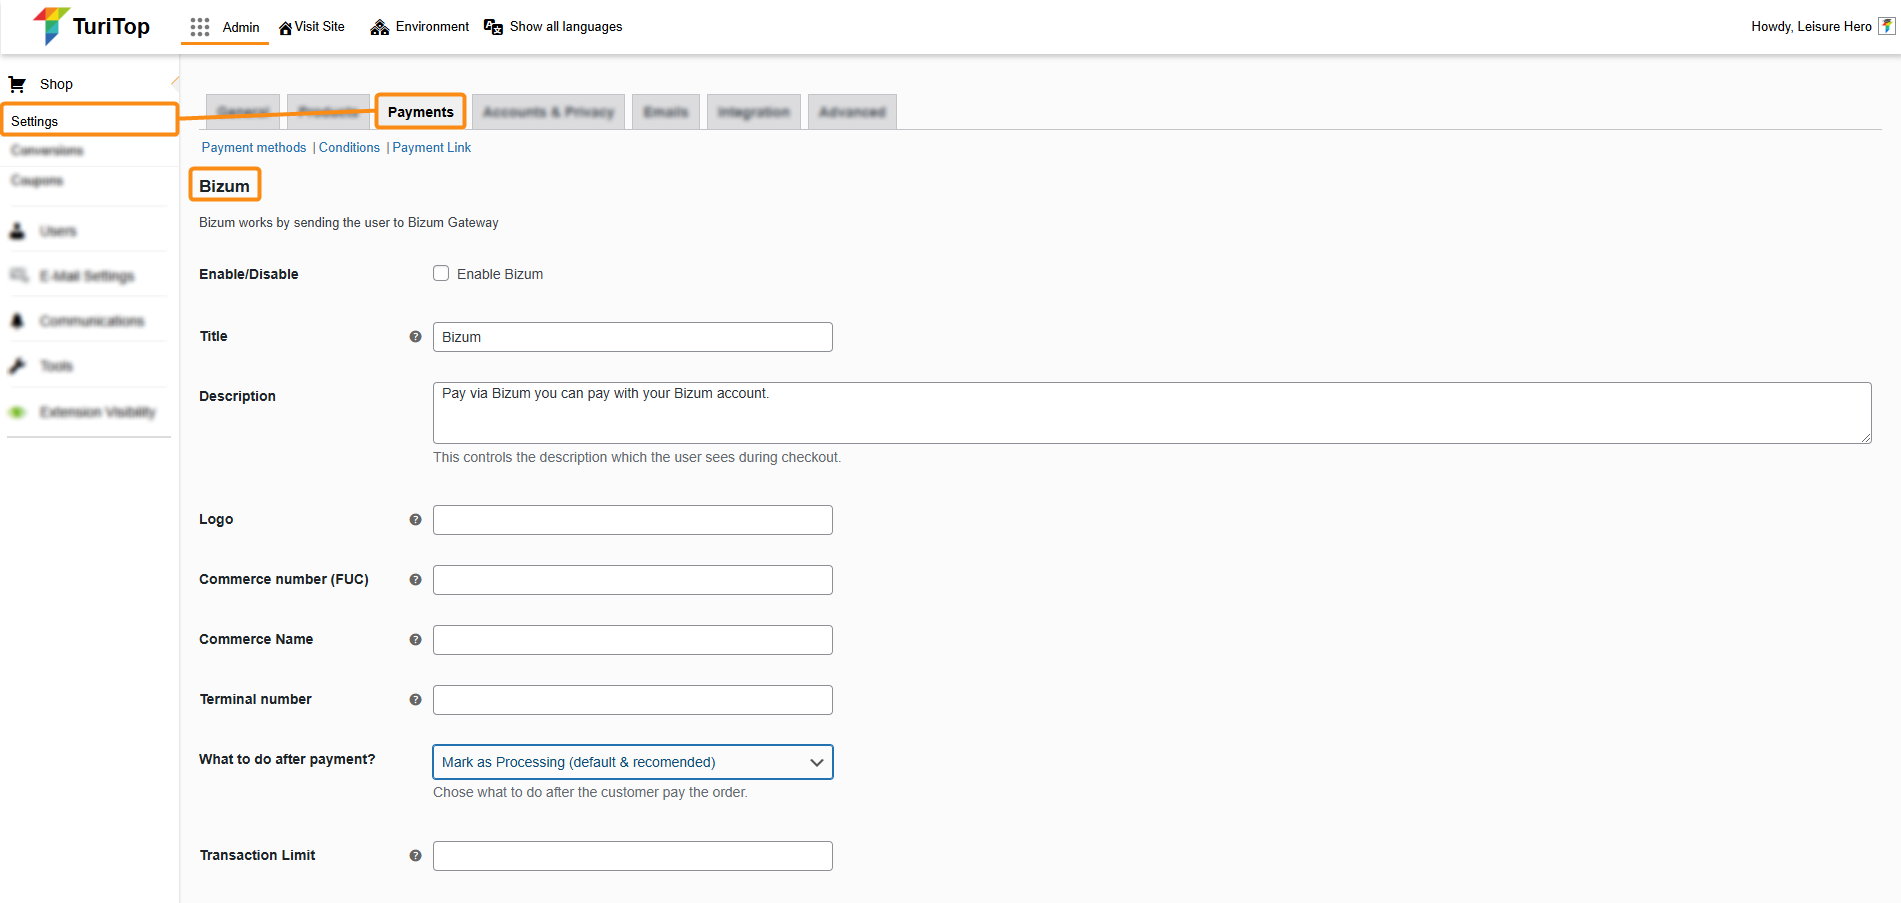
Enable Bizum Gateway
To enable the Bizum gateway you first have to talk to your bank so they can provide you the mandatory configuration fields needed (FUC, Terminal Number, and so on).

Check the RedSys feature to have a step-by-step guide on how to get the mandatory data and testing done, as both gateways share the same environment.
Once you have this information, you can proceed to check the “Enable Bizum” box and fill in all the information, such as:
- Title: This controls the title that the user sees during checkout.
- Description: This controls the description that the user sees during checkout.
- Logo: Add a link to an image that will be used as a logo.
- Commerce Number (FUC): Commerce number (FUC) provided by your bank.
- Commerce Name: The Name of your commerce/shop.
- Terminal number: The terminal number provided by your bank.
- What to do after payment?: Choose what to do after the customer pays the order (mark as “Processing” or as “Completed).
- Transaction limit: Set a maximum transaction price for the cart for Bizum option to be active.
- HTTPS SNI Compatibility: If you are using HTTPS and Redsys doesn’t support your certificate, you can deactivate HTTPS notifications.
- Encryption secret passphrase SHA-256: Encryption secret passphrase SHA-256 provided by your bank.
- TEST MODE: Encryption secret passphrase SHA-256: Encryption secret passphrase SHA-256 provided by your bank for test mode.
- Language Gateway: Choose the language for the Gateway. Note that not all banks accept all languages.
- Running in test mode: Select this option for the initial testing required by your bank, and deselect this option once you pass the required test phase and your production environment is active.
- Debug Log: Log Bizum events, such as notifications requests.